

How to make the most of Silicone Stents
Dr Stuart Ray gives us an insight into what else you can use silicone stents for in every day practice.

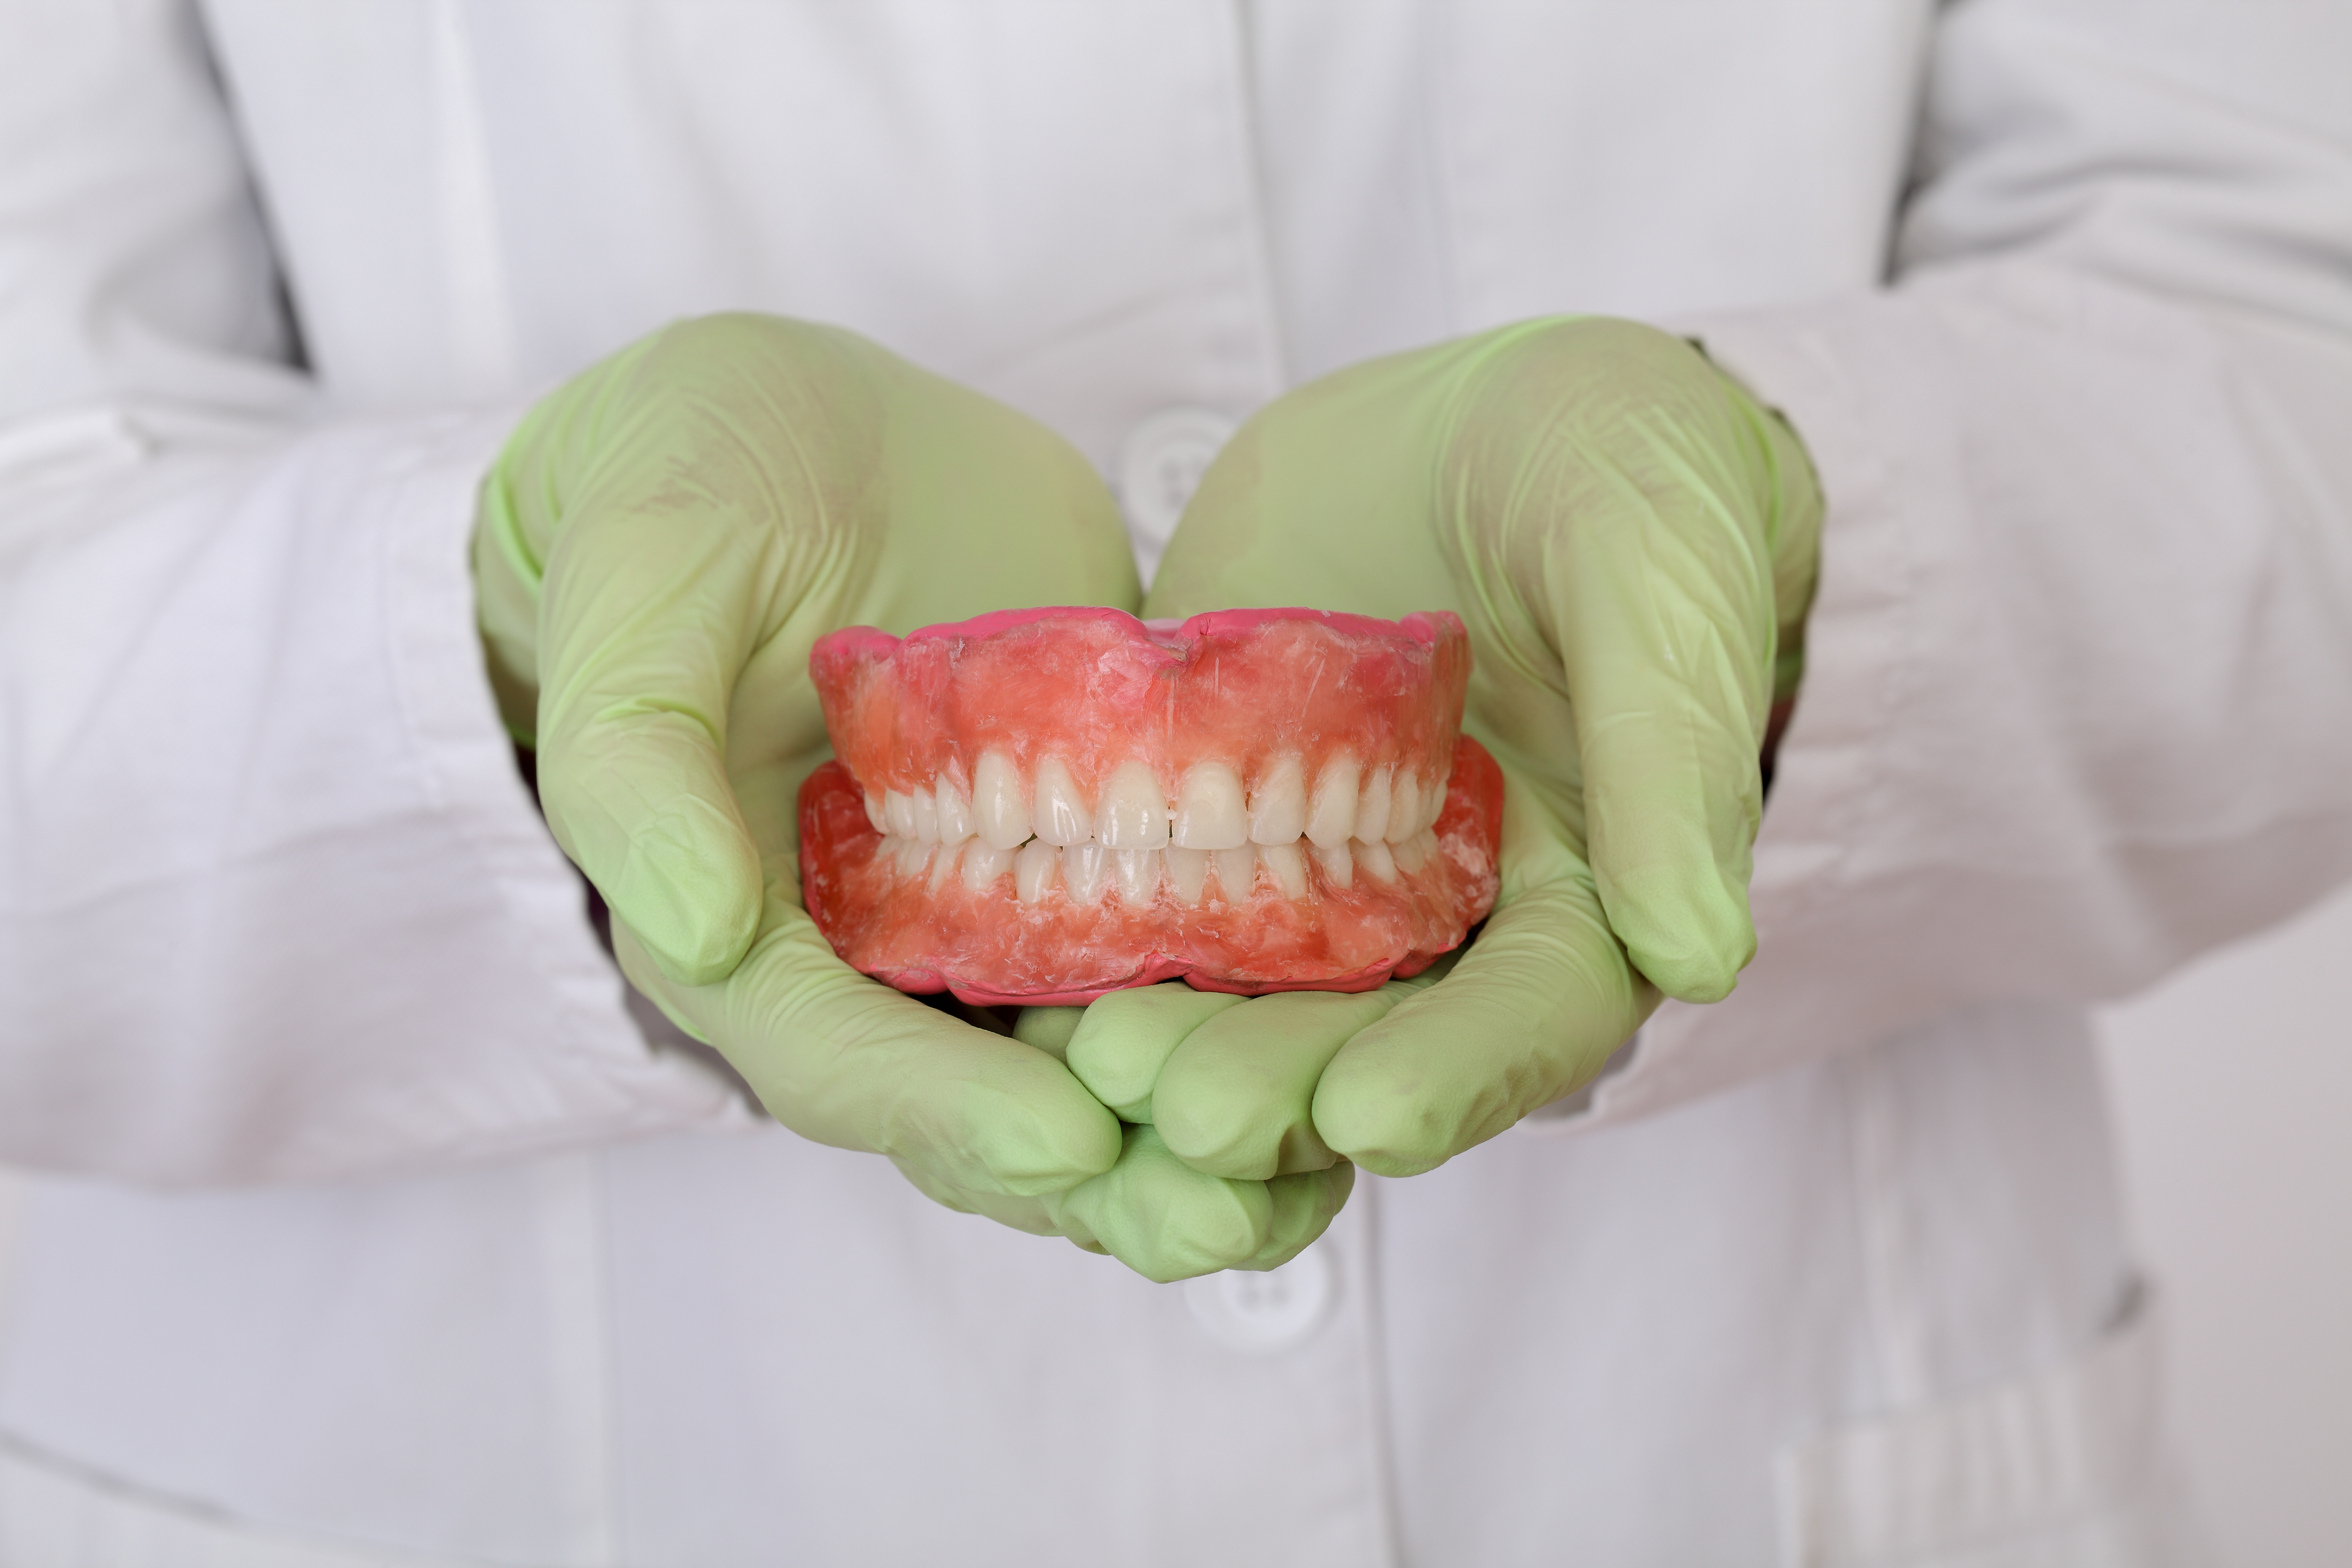
Silicone has often been confined to being the material we use for palatal stents but it is becoming more and more apparent that it is has many more uses.
As part of the Mini Smile Makeover course a lot of the work is driven by a mock-up and we use a palatal stent made of silicon putty. A lot of people think that this is the only time to use silicon, but I’ve found in practice that silicon stents can actually work in a number of situations. And i’m going to share them with you.
We’re all aware that freehand in composite is a skill few people possess so anything you can use to create a more predictable restoration is always going to be useful. In everyday practice we don’t always need to use a wax-up and we oftentimes don’t even have the luxury of a wax-up.
When to use Silicone Stents
If we find patients have a restoration which needs replacing and it’s been successful for a number of years, then we can assume that the occlusion – which is one of the most important points of a successful restoration – is fine and is in harmony.
Then all we need to do is simply take the silicon putty, record the palatal surface with the putty (as we would do if it was a model) and then we can use the composite on the stent. We know we’re going to create a restoration which has the same contour and should then have the same occlusal harmony. And if we copy that then we should have another very successful restoration.
Palatal stents aren’t just for diagnostic wax-ups, they can be used in combination with a freehand build up as well
There’s also a few situations where you’ll use a freehand technique and this can then be combined with the use of a silicon stent.
For example → in cases with fractures the patient has an immediate issue you can build up freehand and just use a technique where you might use your fingers behind the tooth or Mylar strip. Which you can then refine if you want to make changes. When the patient comes back you can do the refining in the mouth which means you’re almost essentially doing a direct mock-up.
Once you’re happy with the occlusion you can then use the palatal stent again if you are going to change the restoration, if you’re not happy with the shade, or if the patient wants something a little bit more involved than just an immediate replacement for the fracture.
5 things to remember
- Palatal stents aren’t just for diagnostic wax-ups they can be used in combination with a freehand build up as well.
- It is essential to consider the colour of the putty that you’re using to make the palatal stent (Blue, dark green & even purple).
- Crucial to ensure that you take great care in placing the putty.
- Make sure you record the entirety of the tooth that you’re working on.
- And always remember to make sure you’ve got good cross arch stability and you’re not just working a very small field.

Let’s go through them in detail
Recording the palatal surface
It’s very important that when you do make a palatal stent with putty that you take great care in ensuring that you record the entire palatal surface, the incidental area from that palatal side but also the entire incisal table.
Thickness
When you record the incisal edges you want to ensure the putty isn’t too thin over the incisal edge. Often when you place the stent if there’s too much pressure applied, and the putty is thin then it will deflect, and you’ll end up with an inaccurate record of the model or the tooth that you’ve recorded. You need to make sure you have adequate thickness of the palatal stent; it needs to be sturdy and doesn’t deform when you’re actually placing the restoration.
If you use something which is yellow, it’s very difficult to gauge how thick the composite is
Colour
Another vital factor when you’re making a palatal stent and you’re choosing the material is the colour. It sounds ridiculous but if you use something which is yellow, it’s very difficult to gauge how thick the composite is when you place it on the putty so use something with a bit of contrast, maybe a dark green, blue or even purple.
& Cross arch stability
What we found that some people do in the course when they’re making palatal stents is that they only record one tooth either side of the one they’re actually working on. What we tend to find in that case is that they lack a cross arch stability, so when the stent is in position it can move. So it is imperative to record at least two or three teeth on either side of the ones you’re working on just to ensure the palatal stent remains stable while you’re working.
› DIG DEEPER ‹
![]()
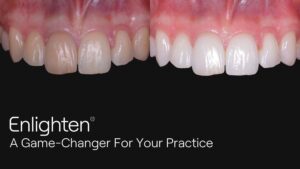
» Training
To become an Enlighten Whitening Expert and get CPD certified for free hit the button below to take our hour-long online training.
» eBooks
Learn how to dramatically increase the number of whitening treatments you do here.
» Websites
Or if you’re interested in knowing more about the Enlighten Teeth Whitening System, then give it a click right here.
![]()
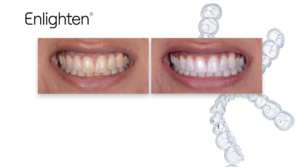
» eBooks
Read up on the 6 tips that will perfect your anterior resin restorations here.
And to discover how you can achieve the aesthetic results you want when doing a single veneer with a single shade of composite, click here.
» Websites
If you want to learn more about the 2-day hands-on anterior composite masterclass with Dr Dipesh Parmar, click here.
» Podcast
Learn how to emulate the success of the movers and shakers in the dental industry from their own mouths, featuring the nuggets of knowledge from likes of Simon Chard, Andrew Moore, Tif Qureshi, Mark Hughes and many more.